Lately, I've been really inspired by street style. Even more than usual. I'm not sure if it had anything to do with me buying
these new wedge sneakers, the
Prabal Gurung for Target bright spring line or the recently themed "Chaos to Couture Punk" Met Gala Ball, but street style has been on my mind.
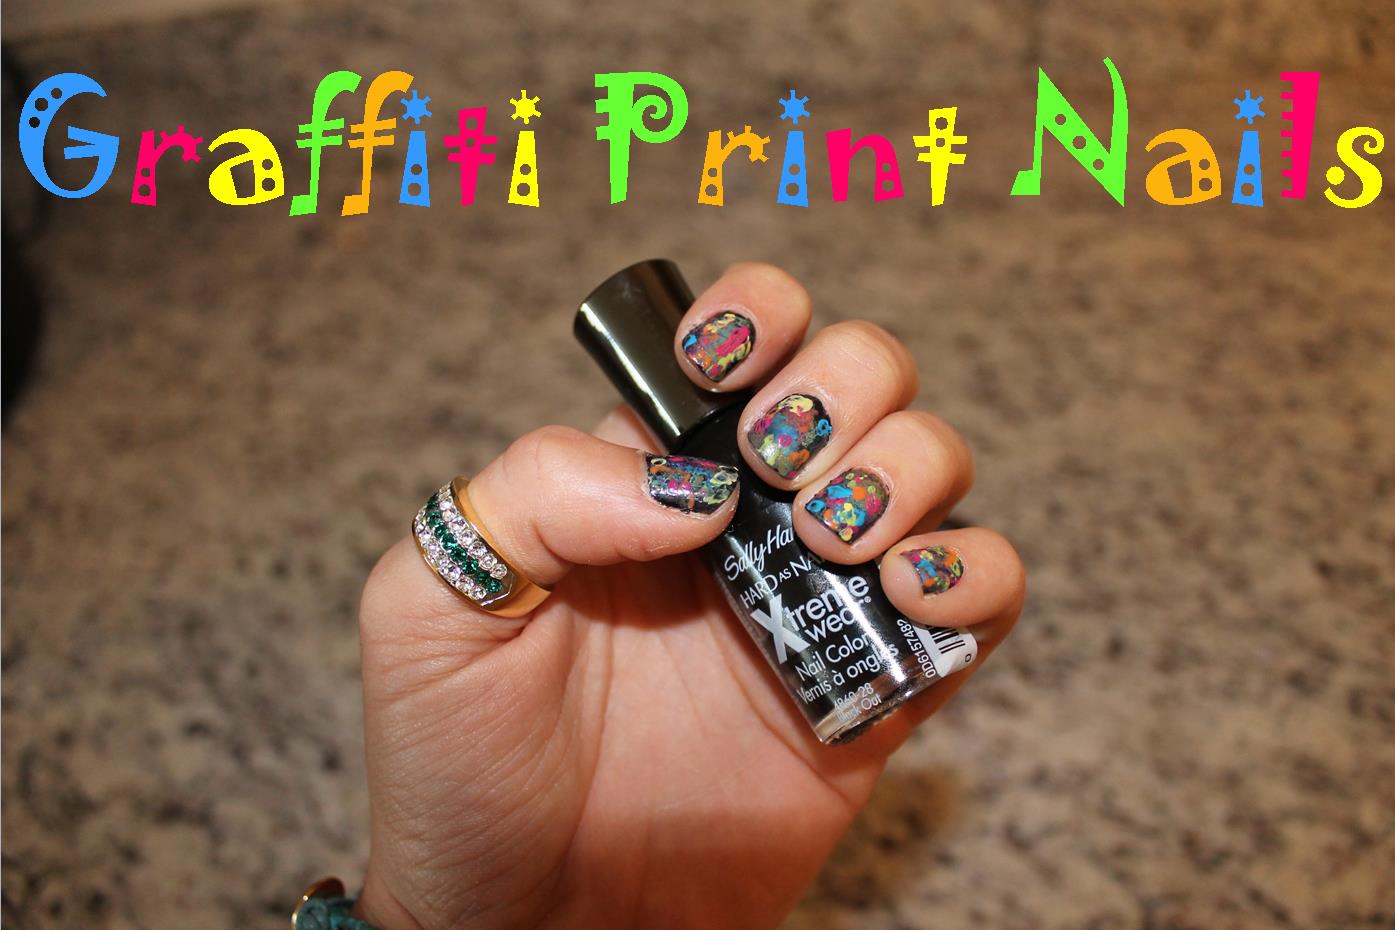
So when Sally Hansen asked me to create my own nail design based on "Street Style" I jumped at the chance. And since my love obsession with neon is still going strong, I thought why not create a Graffiti Print inspired nail design.
I have to admit that nail art has always been a little bit intimidating to me but this was a really fun project! All it took was a little bit of trial and error and some patience. Plus, it made me realize that it doesn't have to be perfect to look cool. In fact, I kind of love that it's messy, edgy and unique - just like "Street Style" itself!
Want to know how I did it? It was actually super easy!
Graffiti Print Nail Art
Here's what I used:
Sally Hansen Xtreme Wear Nail Color in (L-R)
Black Out
Green with Envy
Blue Me Away!
Sun Kissed
Mellow Yellow
Fuchsia Power
Sally Hansen Double Duty Base & Top Coat
Sally Hansen Salon Manicure Dry & Go Drops
1. Paint your nails with base/top coat. Let dry 5 minutes
2. Paint all nails with Black Out Polish. I did 2 coats. Let dry completely (I did mine the night before)
4. Add a few of the Dry & Go drops to create a shiny texture.
3. Put a small pool of each color that you want to use on a paper plate. Just a small amount. You can always add more if you need to so don't dump out too much polish
4. Using either a sponge or a dental floss stick, slowly add the 1st color to each nail.
Note: depending on the look you want will determine which tool to use. The sponge will give you a more smudged look. While the dental floss stick will be more defined. I did both, but preferred the dental floss tool better)
5. If you use the dental floss, dip the side ends onto the polish and dab on each nail. Then run the floss part over the color the spread it out (see above photo for more explanation) Wait for the 1st color to dry (about 3 - 4 minutes)
6. Repeat steps 4 & 5 with remaining colors
That's it! See how easy it was? It may take a bit of time, but I just watched a DVRed episode of "Real Housewives" so it didn't take that long. It totally reminds me of spray painted walls on the street.
I love these Graffiti Print nails so much that they actually inspired me to create a "street style" outfit based on them!
Check back tomorrow to see the full look!
I chose not to add another coat of Dry & Go drops because I wanted my design to be more "matte" than shiny. Kind of like concrete walls or asphalt sprayed with spray paint. Now that I see how easy Nail Art can be I'm really excited to try more designs. Next up on my list is Pop Art inspired nails.
Make sure you enter the
Sally Hansen I Heart Nail Art Contest by submitting your own nail design! To enter go to
Facebook.com/SallyHansen or use the hashtag #iheartnailart on Twitter or Instagram to share your looks. 5 Finalists will win $500 and be flown to NYC to compete in the final round where 1 winner will win an additional $2,000!
What are you creating on your nails?! Happy Wednesday everyone!! xo
Disclosure: Compensation was provided by Sally Hansen via Glam Media. The opinions expressed herein are those of the author and are not indicative of the opinions or positions of Sally Hansen

.jpg)
.jpg)
.jpg)
.jpg)
.jpg)
.jpg)
.jpg)
.jpg)
.jpg)
.jpg)
.jpg)